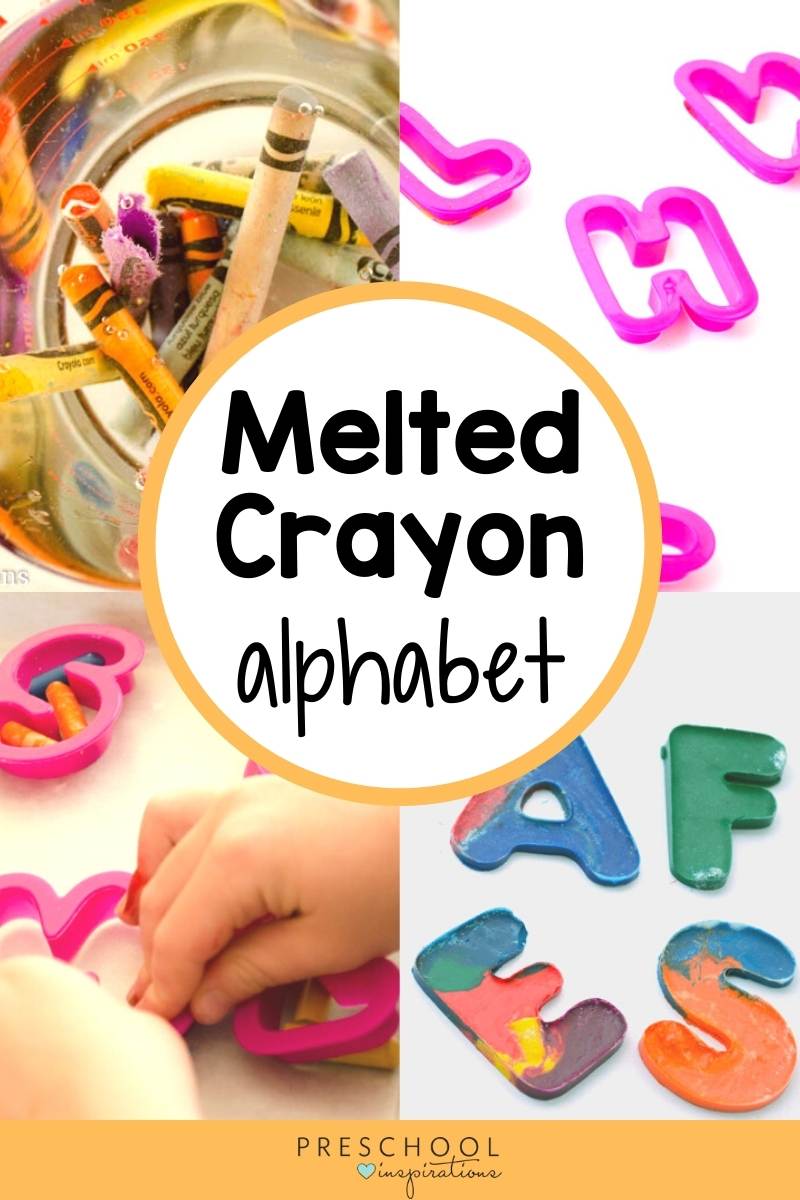
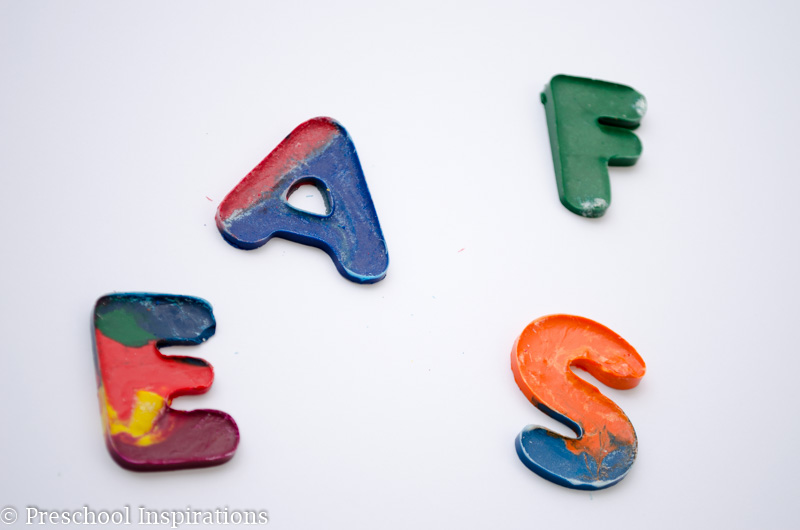
Make your own crayon alphabet! It’s great as a movable alphabet, for coloring, and hands-on fun and learning.
We made this one very warm day while trying out this beautiful crayon process art activity from Happy Hooligans. I realized that it was definitely hot enough to melt crayons completely, and that’s when the experimenting began! We did this on our deck, a place where in the middle of the day, you don’t want to be caught without any shoes on.
This post contains affiliate links for your convenience.
We have tons of crayons around that are broken, and I always love bringing new life to them. This was the perfect activity for that. It takes some experimenting to get this to work just right, but I just used those experiences to teach some science.
Here is what you’ll need:
- Crayons — I recommend using Crayola crayons
, and we also got RoseArt
to work.
- Cookie sheet
- Wax paper
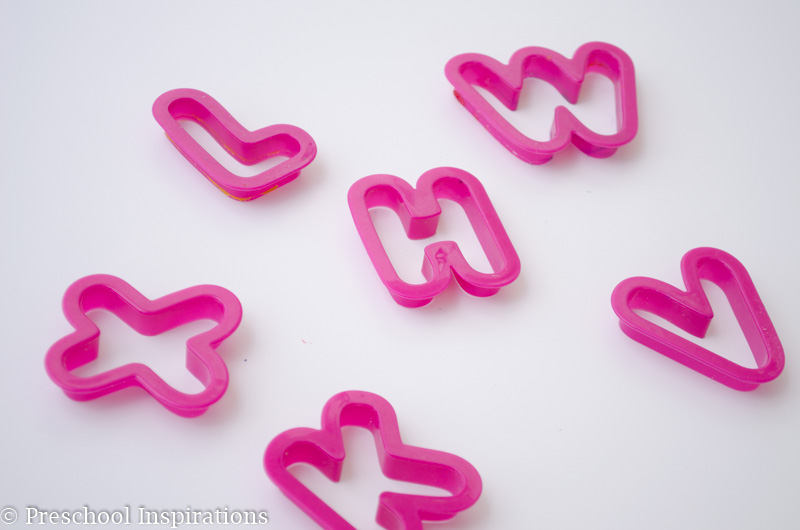
- Alphabet cookie cutters — I have the 100 piece set below, but there is one with just letters and numbers if you would prefer


First, let the crayons soak in water for several hours. This is not necessary, but it is a huge frustration saver. I have done enough recycled crayon activities to know that I am not a fan of pulling off the wrapper for an hour! They come right off with this method, and if the wrapper doesn’t easily come off afterward, then I have decided the crayon is not worth it.
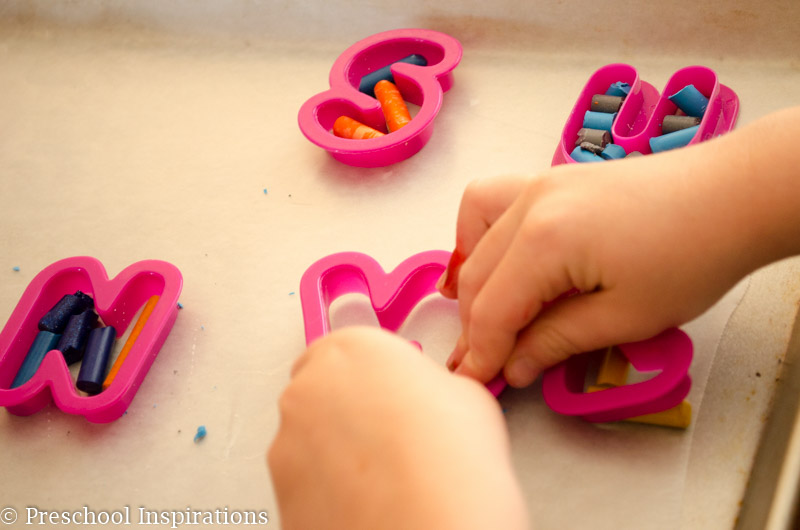
Next, line the cookie sheet with wax paper. You’ll want it to be as flat as possible. Then put the cookie cutters on. We learned the hard way — I mean through scientific experimentation — that it works best if the cookie cutter has the flat side facing up. So in other words, put them facing the same way that you would if you were using playdough. The sharper edge goes down.
Now let the children put the broken up crayons into the letters.
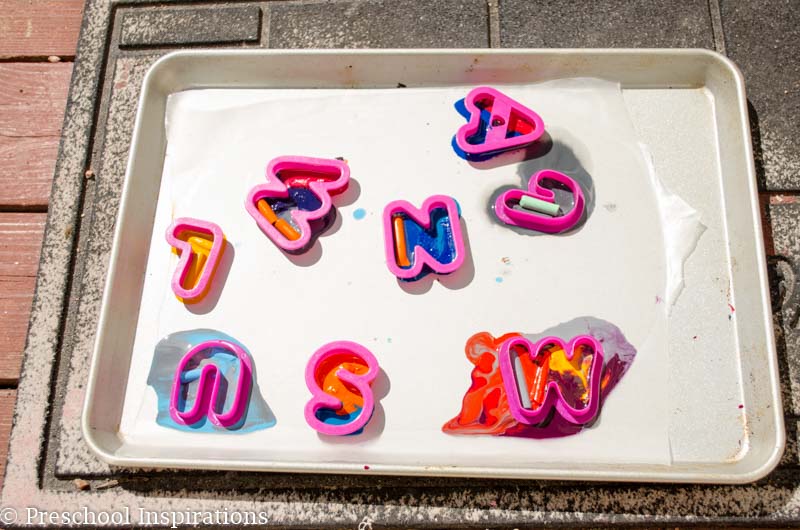
Our poor ‘U’ did not turn out at the end. You will see it’s fate next. Now it’s time to lay these in the sun. It took about 20 minutes for them to fully melt on a day of about 80 degrees Fahrenheit or 27 degrees Celsius. You can see how much better the cookie cutters did when facing the better direction. There will be some leaking in all of the letters though.
Once the crayons are fully melted, it’s time to cool them off. I recommend doing this without moving the cookie sheet. I put a box next to these ones to give them shade. Be sure to let these cool off completely. You can feel free to bring them inside once they are hardened, but be sure they are not warm one bit when you take them out. This was another science experiment we learned from. The ones that were still slightly warm broke, and then I was wishing I had not assigned each child to a letter crayon. We did work it out though since I made a bunch by myself the day before.
Once your tray is fully cooled, go ahead and separate the crayons from the cookie cutters. And voila!
You could definitely do these with most any type of cookie cutter on a warm day!
- Rainbow Sensory Bottle - March 3, 2024
- Teaching Neurodivergent Children in Early Childhood Education - January 8, 2024
- Creating Musical Memories: Teaching Music in Preschool - October 6, 2023

Leave a Reply