I used to just throw away a dried out marker. Now, I save a dried out marker in three easy steps. This is one of those tricks I wish I would have done ages ago. I can’t even imagine how many markers I’ve thrown out thinking they were useless when they actually had lots of life left in them.
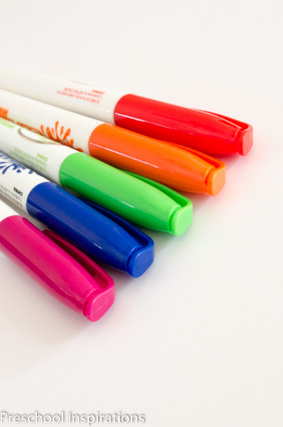
It doesn’t matter if it’s a fine point marker, dry-erase marker, or a chubby marker. I was able to give them all extended life. I also tried all the different brands we had, and all the various ones lying around worked.
If you need to save a permanent marker, I share how to do that too thanks to an awesome reader tip!
This post contains affiliate links for your convenience.

Get the best learning activities for 3-5 year olds at your fingertips
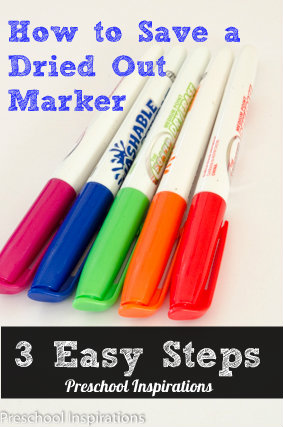
How to Save a Dried Out Marker
Can I say that this is so easy!? You’ll probably wonder why you didn’t think of it…or perhaps you already do it.
Here are the 3 easy steps:
1) Wet the tip of the marker with a very slow flow of water. Thinner markers need just a little bit of water and chubby markers need a little bit more. I just held the marker under my sink for a split second and that usually was the perfect amount for the thin and dry-erase markers. For bigger markers, hold it under for a hair longer.
2) Place plastic wrap or cling film around the tip of the marker. This helps hold the moisture in.
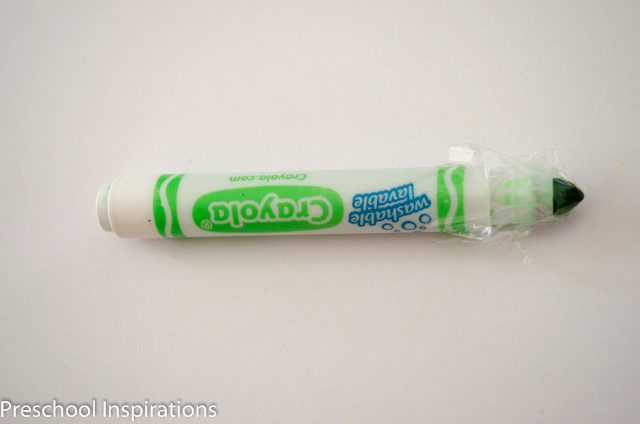
3) Put the lid on and wait a few hours. Then remove the plastic wrap and test it out.
With thinner markers and dry erase markers, I could get the marker working in just a few hours on the first try. Other times, particularly with thicker markers, I had to repeat all the steps and place the marker upside down too.
There’s no formula to be honest. It all just depends on how dry the marker is, the quality of the brand, and the size of the marker. Keep repeating these steps if necessary to get your marker to the desired wetness. The really dead markers required a couple of rounds, and I rotate them from right side up to upside down a couple of times a day.

How to Save a Permanent Marker!
Judy commented below that she knew how to save a permanent marker!
She said to add a few drops of denatured alcohol!
If the tip of a washable marker is really worn already, I would not try to revive it. Instead, I would give it different life by turning it into liquid watercolors with this method from Happy Hooligans.
Here’s to saving more markers and more money on art supplies!
If you enjoyed this post, you may also enjoy my frugal recipe for DIY Liquid Watercolors.


- The Best Movement and Action Songs for Children - January 8, 2026
- Back to School Survival Guide for Preschool Parents - July 29, 2025
- Thanksgiving Ten Frame Counting Mats - November 17, 2024
When I can’t revive a marker, I take it apart and insert the inner ink-filled tube in a glue bottle. Let it sit over a weekend and come back to find colored glue. My kids love colored glue.
That’s brilliant, Paula! Thank you so much for sharing such a great tip!
How many dozens of markers have I thrown away over the years. I am on to this right away!
Starting with the whiteboard markers already in the dustbin.
Permanent markers are alcohol based. Use denatured alcohol instead of water to revive permanent markers. Just a few drops will usually do it if you can get to the inside of the marker. If not I’m not sure of how long you would need to have it absorb into the tip. Wrapping the tip to keep the moisture in is a good idea. I would let them sit for a couple hours to let the moisture expand.
Thank Goodness! I knew there had to be a solution. One thing i have done with success, on certain “brands / types”, is to get tweezers or needle nose plyers and swap ends of the marker or with another. Many markers are identical on both ends. At times, You may need to melt a piece of the exterior of an empty shell to fill the inside bottom of one. Just drip straight down into the casing a few drops holding the donor plastic with plyers and using a small torchy type of lighter. It does not absorb ypur marker and is the space the tip was lacking… Due to no fault of the aspiring artist. Wink Wink. Hope I helped you a little, Thanks to You My faith in markers has been “restored”!
Actually you don’t have to do it for hours. I did it only 10 minuets and I got it working!