Lately, I have become more and more interested in Montessori techniques. The more I find out about it, the more I love it! I even feel that I have been missing out the past 12 years of teaching without it. I recently had the incredible honor of having an amazing Montessori teacher come over and teach me how to do a lesson. She showed me so much, and I wanted to share it with you!
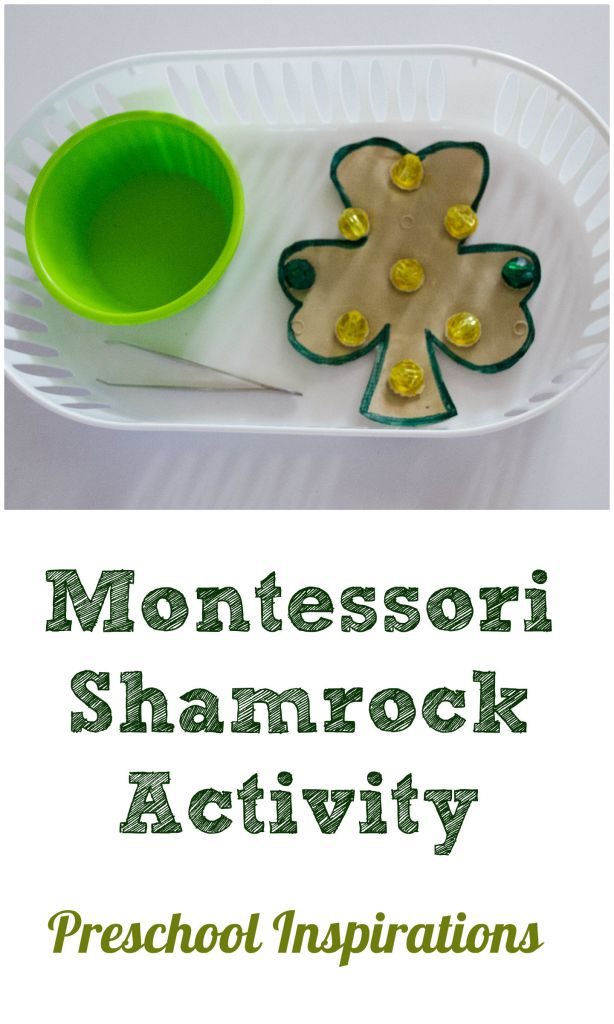
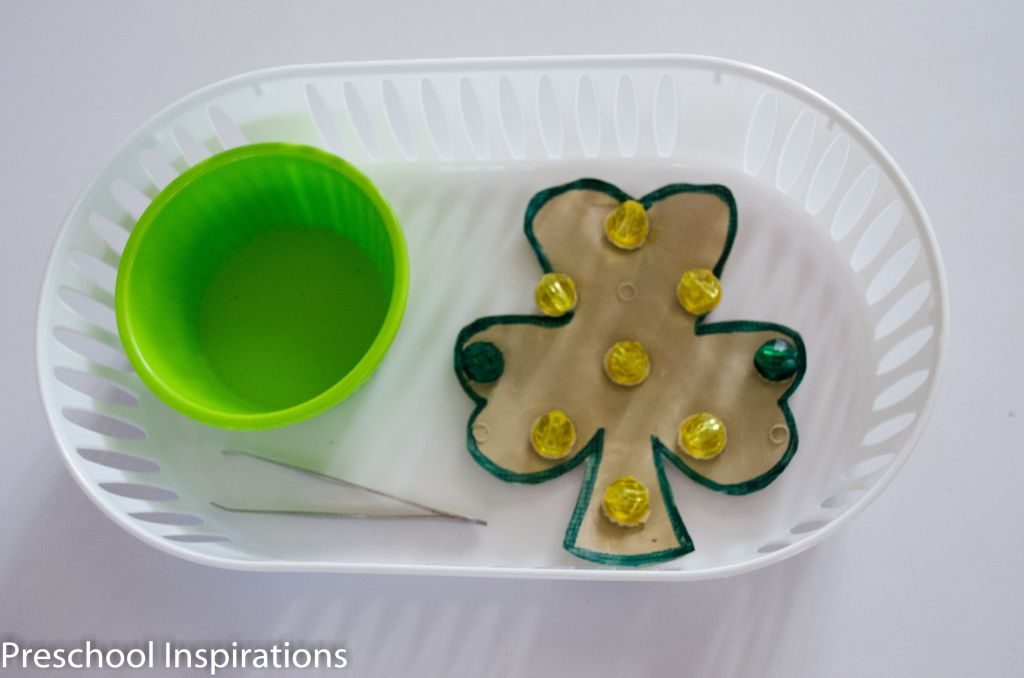
Here is the Montessori Shamrock Activity that she gave to our class. How nice is that? She not only taught me a lesson, but it was a gift as well!
I will explain the steps to you, which should really be helpful if you are just beginning to learn about Montessori like I am.
Here are my materials:
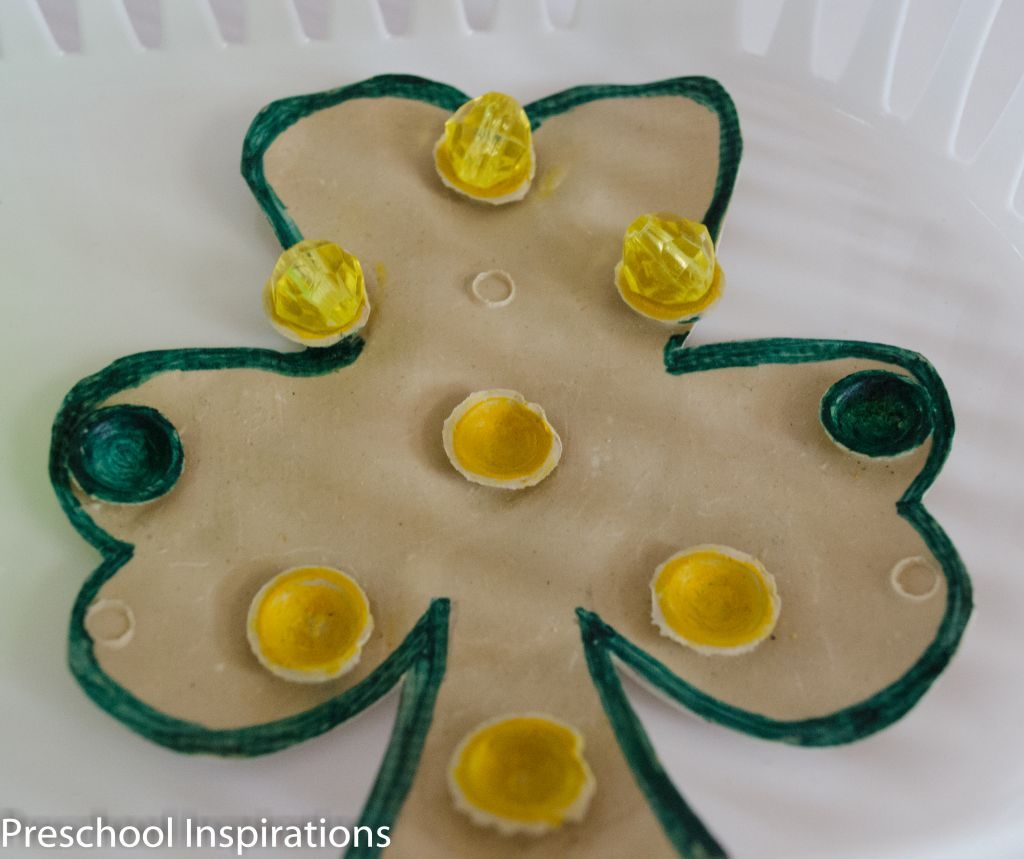
1) Shamrock shape soap suction cup holder: this one was bought at a dollar store and cut into a Shamrock shape. You can color the suction cups with a marker.
2) Beads: there are 9 suction cups, so there are exactly nine beads, 2 green and 7 yellow. Montessori activities are self-correcting, so it has the exact number necessary. Just today *I* misplaced one of the beads, and one of my 3 year olds immediately figured this out and told me.
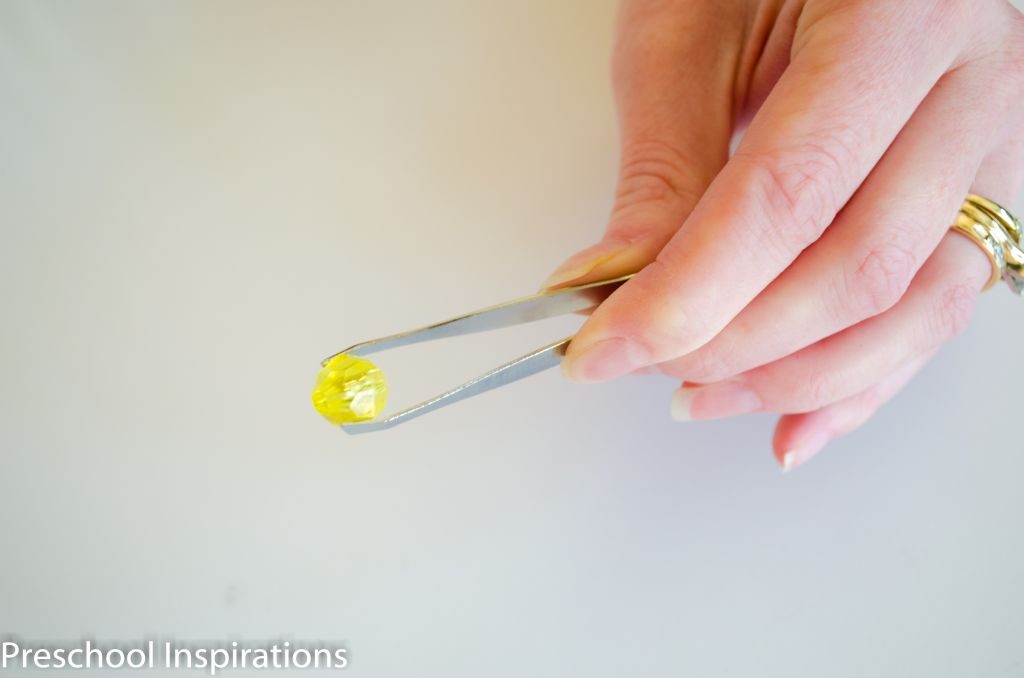
3) Tweezers: these have been bent out to hold the beads better. I cannot believe that I have never thought to bend tweezers outward to better accommodate varied sized objects. So you don’t even need fancy tongs or anything else. Just make those tweezers work for you.
4) Ramekin: for holding the beads.
5) Shallow dish: this should be slightly wider than all of the objects combined in it. I’ve been using giant trays, so now I know that it is better to use a container that allows everything to fit with just a little extra room.
Here’s how to teach and do this form of Montessori work
1) Try the activity yourself to make sure that everything flows smoothly. Do this before you put it on the shelf or offer it to the children. So put all the beads on and take them off. Make sure your tweezers and beads are in sync with one another, etc.
2) Place the tray on a shelf.
3) Demonstrate the lesson. Do it in super sloooooow motion. When my friend did it for us, she was absolutely mesmerizing! She would do the action, very focused, then look at Sugar and Spice (5 years old) and Lil’ Red (3 years old) and nod. She had their full and complete attention, and we all were soaking it in like sponges.
4) One of the biggest concepts in this activity is matching. To help reinforce whether the bead was a proper match or not, our friend would nod her head to indicate the answer. She put a yellow bead near the green suction cup, then paused, and nodded “no.” Then she moved to the green suction cup on the left side and nodded “yes.” It is not necessary to nod every time though. I especially love watching the kids nod when they do it now!
4) Make sure to demonstrate and speak at different times. If you are speaking, then you are just speaking. If you are demonstrating, then remain silent. Man, I wish more people would do this in real life! We’d all be better learners in my opinion.
So here we go! This is so exciting already!
1) Show the child/class how to walk over to the tray, pick it up with both hands, and ever so gently place it on the work space on a table.
2) Pick up the tweezers, and slowly put a yellow bead at the top. While I might have just put a yellow bead anywhere, she explained to us that Montessori philosophy teaches order. So go from top to bottom.
3) Once all the beads are placed in their proper suction cups, then it’s time to get the activity ready for the next child…or for the same child to do it again. Demonstrate how to put all the beads back in the ramekin.
4) At this point our Montessorian friend asked, “Are we finished?”. We weren’t. First, we checked that the activity was completed and ready to be used again. It is now time to 1) stand up, 2) push in the chair, 3)then take two hands and carefully return the tray on the shelf. When you use this sequence, it helps prevent spills. It is difficult for a child to pick up and tray then try and balance the tray while getting up. This method also allows maximum room for the child to walk back to the shelf. Not only is Montessori work self-correcting, it is self-cleaning!
If a child is engaged in this activity, feel free to let them do it as many times as they wish. I am a huge proponent of large chunks of uninterrupted play, and I must say that it makes a huge impact on what children learn and retain.
We are easing into this Montessori process in my classroom, and it definitely is taking a lot of intention and patience. We do have an entire practical life shelf right now though, and that area of the room amazingly stays clean. All of the other areas my kiddos have to be reminded to put away their toys constantly. Maybe there’s something magic to this Montessori tray. Well, whatever it is, I definitely want some more of the Montessori magic, and I look forward to sharing more of our journey with you!
If you are looking to grow your Montessori knowledge, this is a great time to do it because there are some amazing Montessori blogs out there which are so helpful. The two that I visit most often are Living Montessori Now and Montessori Mischief.
To find more inspiration for Montessori activities, you can follow me on Pinterest:
- Rainbow Sensory Bottle - March 3, 2024
- Teaching Neurodivergent Children in Early Childhood Education - January 8, 2024
- Creating Musical Memories: Teaching Music in Preschool - October 6, 2023
Leave a Reply