Suncatchers are some of my favorite crafts to do with the preschoolers. These pumpkin suncatchers turned out just as beautifully as I had wanted, and we even used a “secret ingredient.” The goal of my suncatcher was to make it beautiful and simple to make. We had all the ingredients on hand, so I was thrilled not to have to go out and buy supplies.
Have you figured out the “secret ingredient”?
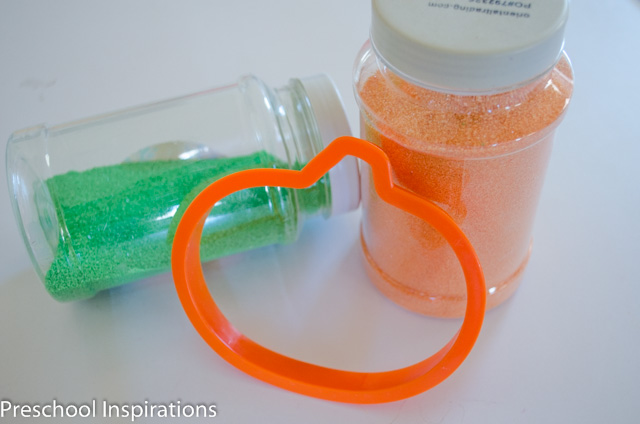
It’s colored craft sand![]() !
!

Get the best learning activities for 3-5 year olds at your fingertips
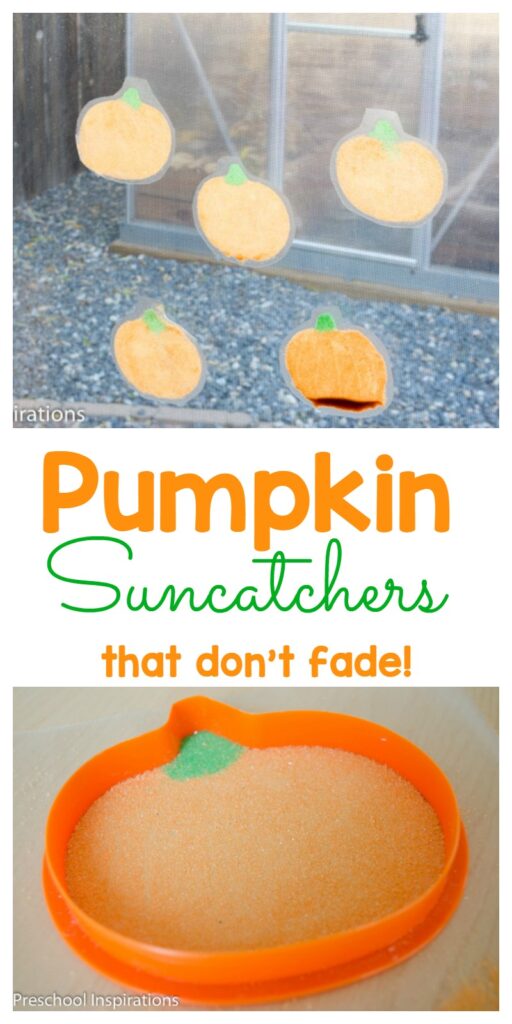
Make a Pumpkin Suncatcher
Materials:
- Two equal sized pieces of Con-Tact Brand Clear Covering Self-Adhesive Privacy Film
 — this can also be found in the housewares section of many stores
 - Pumpkin-shaped cookie cutter — I got mine from this cookie cutter set
- Orange craft sand
- Green craft sand (multi-color pack)
- Something to spread the sand such as a spoon, craft stick, etc.
- Scissors
- Tape
First, cut out two pieces of contact paper that will allow the cookie cutter to fit with a little extra room around the edges. I put the cookie cutter onto the sticky side of the contact paper.
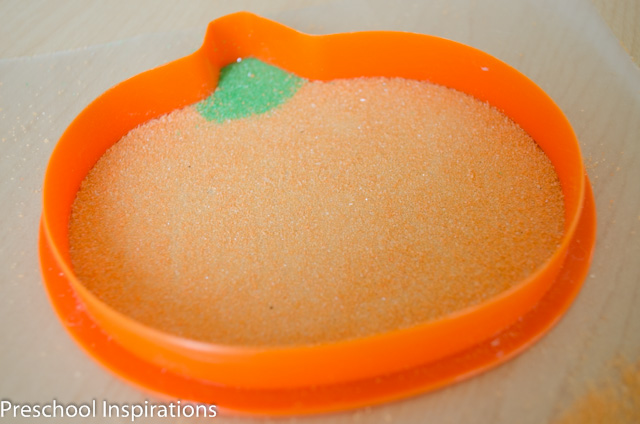
You want the widest part of the cookie cutter touching the contact paper, so the opposite of how you would use a cookie cutter for making cookies or in playdough. Push the cookie cutter down onto the sticky side of the contact paper as firmly as you can so that the sand stays confined to inside the cookie cutter.
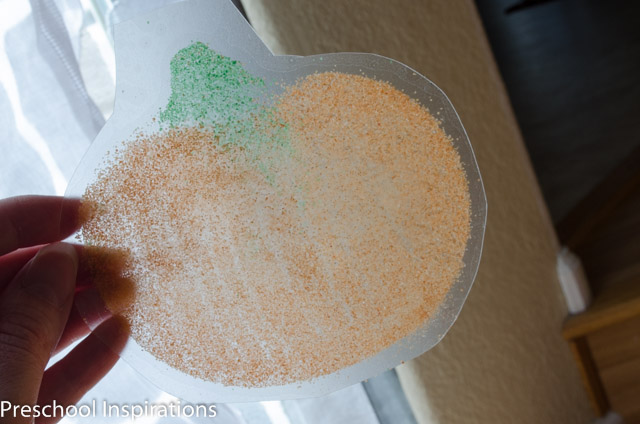
Next, I put a very small amount of green sand at the stem. The kiddos smoothed it out. Then I shook off the excess green without getting any in the rest of the pumpkin.
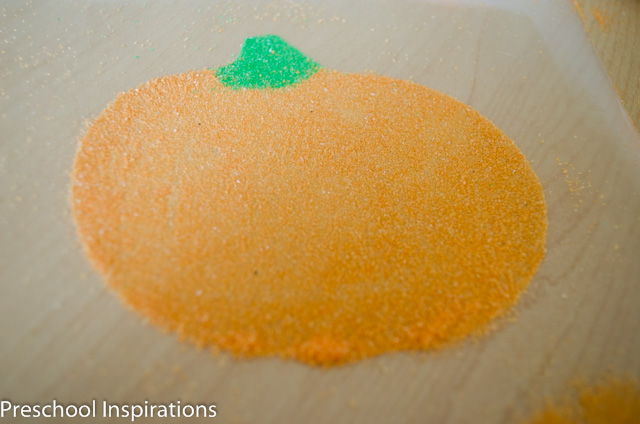
Then we added the orange sand, and each child spread it out to the edges. Again, I shook out the excess sand, avoiding the green stem this time.
Once the pumpkin looks like a pumpkin, carefully pull away the cookie cutter. There were times that some sand got under the cookie cutter, and that’s OK. We had a couple do that, and we were able to fix them with the scotch tape.
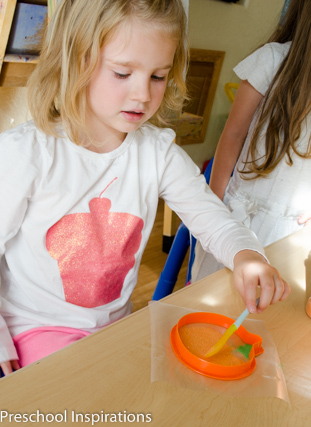
Now put the second piece of contact paper on the pumpkin so that the pumpkin is sandwiched between the two sticky parts of the contact paper.
Lastly, cut around the pumpkin. You’ll notice that once your two pieces of contact paper are together, there is a “sealed edge” around the pumpkin. Try not to cut into that, otherwise the sand could seep out. If there is sand in the sealed edge, just use scotch tape to close up the edge.
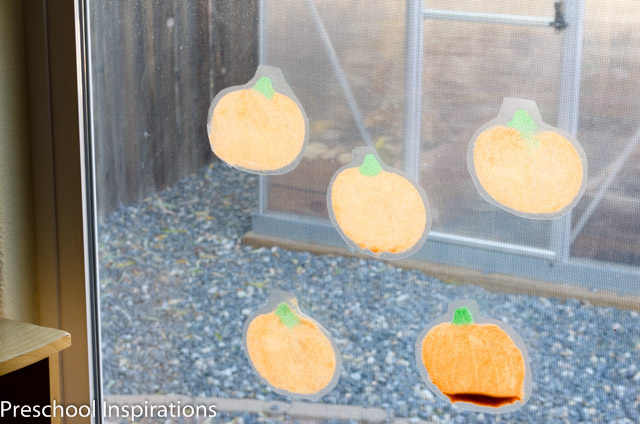
The pumpkin on the upper left had to be taped, so you can see that in this picture. And the bottom right pumpkin is what happens when you don’t take out the excess sand.
The great part is that these suncatchers never faded!
As an extension you could use different colors of sand with different cookie cutter shapes. We especially enjoyed getting out a sand tray afterward and playing in it.

- The Best Movement and Action Songs for Children - January 8, 2026
- Back to School Survival Guide for Preschool Parents - July 29, 2025
- Thanksgiving Ten Frame Counting Mats - November 17, 2024
Katie, you are so clever! I love this idea!
I’m glad you love it, Sarah! I wish every craft I did turned out as easily to make as it was to create in my mind ;). Thanks for the wonderful comment!
That is so cute and easy to do—–can’t wait to do it with the kids—thanks for sharing!
Of course! Enjoy!