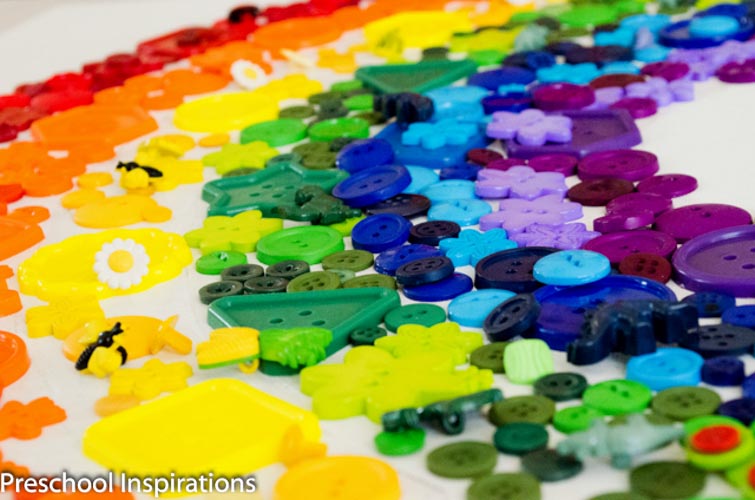
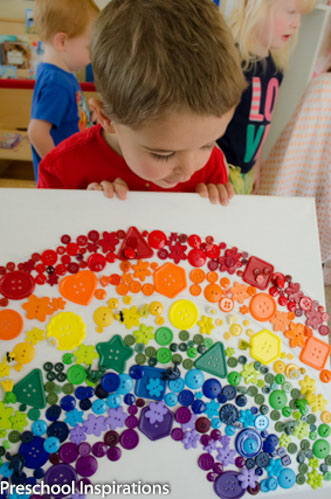
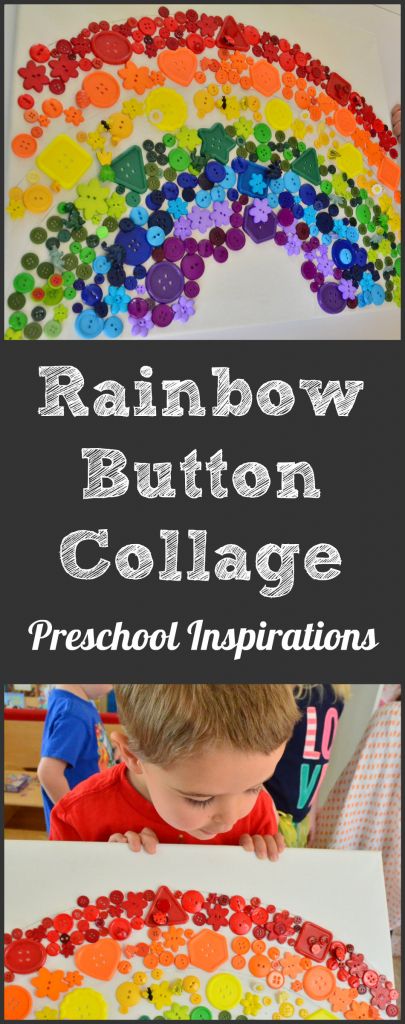
This mosaic rainbow button collage craft is my absolute favorite art and craft project ever! My entire class made it together over a few days, and they did a fabulous job. This one is extra special since every child was so excited to participate. After we made it, they stared at it daily for weeks. It is absolutely mesmerizing in person!

There was a little bit of prepping on my part, but it was worth it because the kid part is a cinch! The hardest aspect of the entire project was finding all the buttons. In order to avoid paying $40 for all the little ones I wanted, I put up a note on my facebook page that I was collecting buttons in rainbow colors. That helped a ton as some great friends donated them for our project.
This post contains affiliate links for your convenience.

Get the best learning activities for 3-5 year olds at your fingertips
Here’s how you can make your own.
Materials:
- 16 X 20 Canvas

- Wire, such as fishing wire (definitely not yarn or any other type that is stretchy)
- Colored pencils — one for each color of the rainbow
- Ruler
- Oooodles of small buttons (craft stores are a great place to find these, especially if you have a coupon)
- Big Buttons
- Watered down Mod Podge
(our ratio was 50% water and 50% glue) - Paint brush
Directions:
I began by drawing my arches. There are probably several ways to do this, so don’t feel that you have to use my way. It was the best method which made them symmetrical, but if you find an easier way, please share.
First, tie the fishing wire tightly to the colored pencil. I did not use rainbow colored pencils in mine, but I absolutely wish I had because it would have blended so much better.
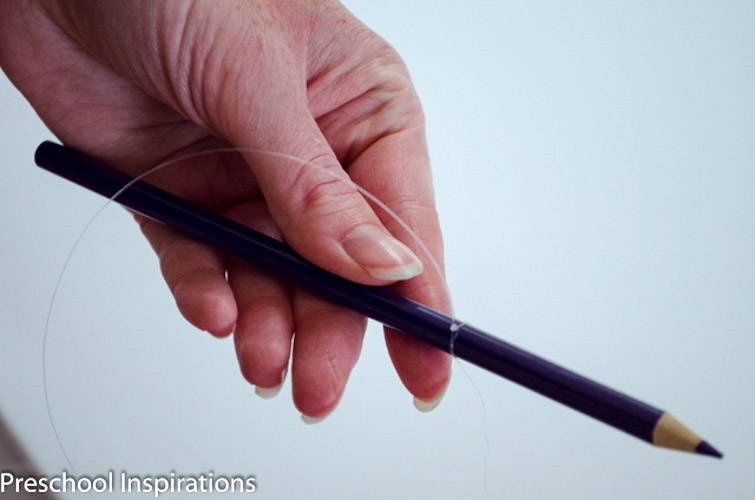
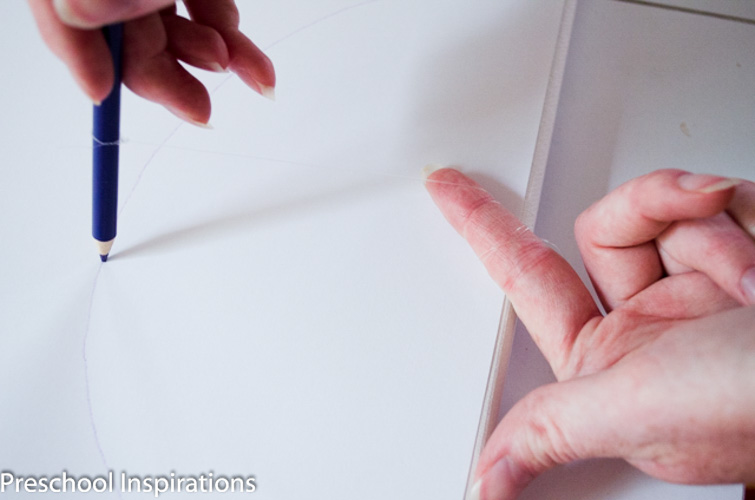
Twirl the string around your finger. If you are right-handed, I recommend tying it to your left hand or vice-versa. After the string is twirled around your finger, make a small arch. I started with purple and worked my way out to red. *Tip: You may want to practice this technique by putting a sheet of paper on top of the canvas until you have the hang of making it look the way you desire. To move onto the next color, measure an inch or two (or whatever distance you would like) above the top of your arch. Loosen your string on your finger to reach that far and make the next arch. All of my arches are 1.5 to 2 inches apart. You could choose to make them all equally distant, but it’s not necessary.

Once all of the arches are in place, it’s time for the buttons. I used the watered down Mod Podge and “painted” it in each arch, one at a time. This way the child will automatically put the buttons in the matching arch, or if they don’t at least it’s not glued down. I put the large buttons down first, then they infilled with the smaller buttons. It was such an easy process with wonderful results.
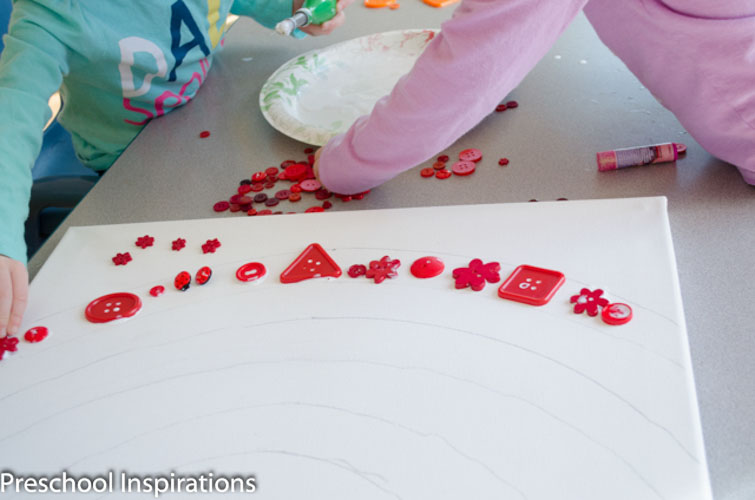
They helped one another so much, and it is a perfect child-made project to hang in our classroom.

It is so sweet to have a piece of art that every child took part in, and even after several months, only a few buttons have fallen off (and are easy to put back on).

- The Best Movement and Action Songs for Children - January 8, 2026
- Back to School Survival Guide for Preschool Parents - July 29, 2025
- Thanksgiving Ten Frame Counting Mats - November 17, 2024
I am gathering St. Patty’s Day crafts for my roundup to be featured on my blog and I just have to say this is one of the BEST activities I’ve seen so far! Your pictures are absolutely beautiful!
You are so sweet, Erica!! I was so thrilled with how it turned out…and especially that it’s symmetrical. Thank you so much for including me in your roundup :).