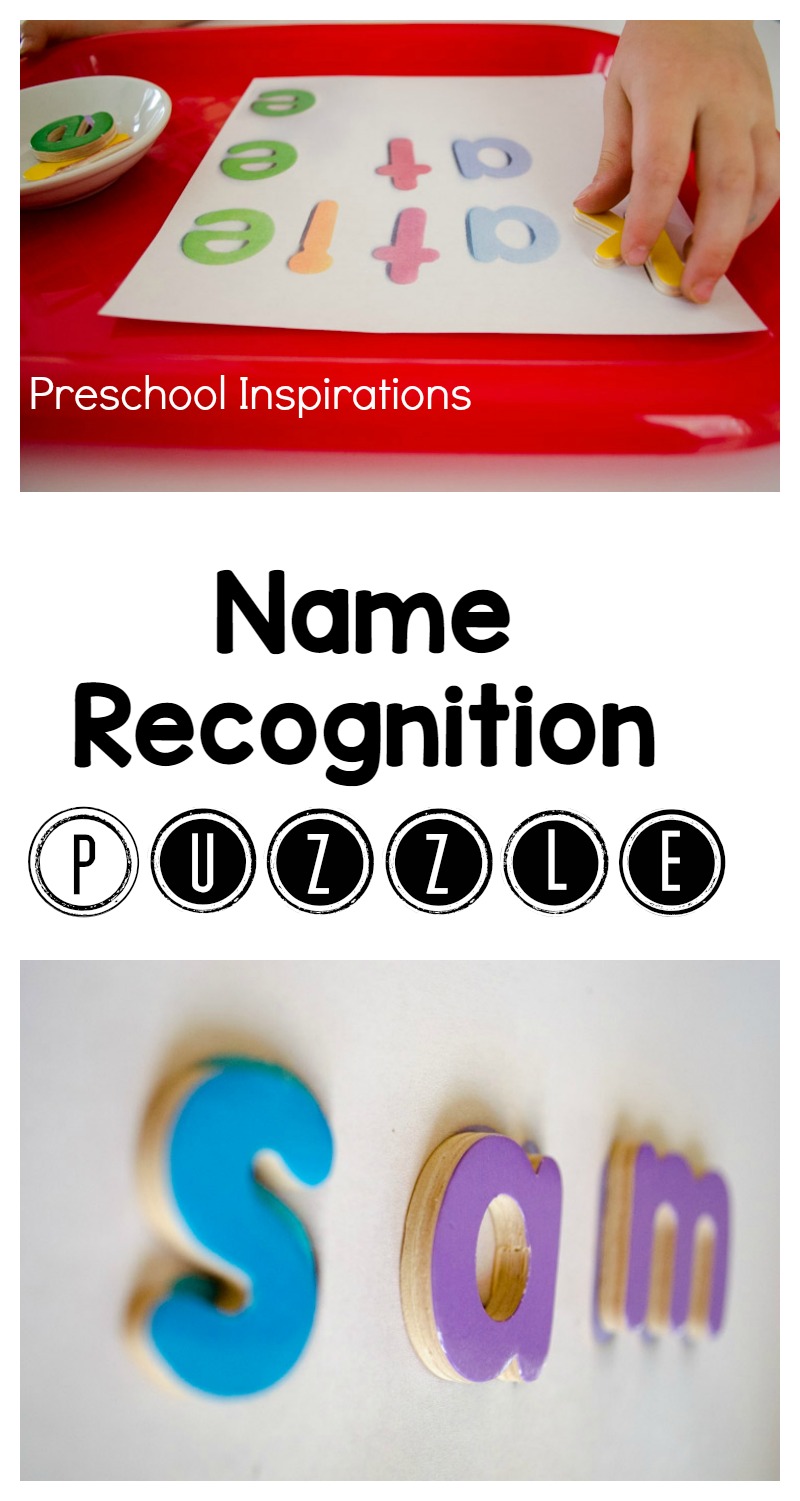
Help a child learn to recognize and spell his or her name easily with this DIY Name Recognition puzzle.
What a huge milestone it is when a child learns to spell or write his name. To a preschooler their name has so much meaning. It is always such a proud moment when they can give new life to their name by recognizing it and even writing it themselves.
Some children figure this out completely on their own. They see their name written around the classroom, home, or other various places, and they just pick it up. It is not necessarily a process that is easy and quick for every child though. Some children are more interested in learning about letters than others, and the length of the child’s name can make a difference as well. A child who has an eight letter name has much more to remember than a child with an easier three letter name.
Whenever I am helping a child with name recognition, I always try to come up with a fun and inviting hands-on method, so that the process is completely exciting. I want it to be a learning experience, but at the same time, my approach to teaching is to work with the child’s own curiosities and interests. I am more interested in giving children enthusiasm for their name than forcing a new skill on them.
This post contains affiliate links for your convenience
DIY Name Recognition Puzzle
Here one of our favorite hands-on ways to learn our names in preschool. It is the first part of the 3 part name learning process.
This puzzle can be adapted for all children, no matter how well they can or can’t spell their names.
Materials:
- Wooden Letters
- Learning tray
- Shallow container for letters
I used wooden letters from a set that we already have, but you could easily do this with foam letters, bulletin board letters, or any other letters you have around!
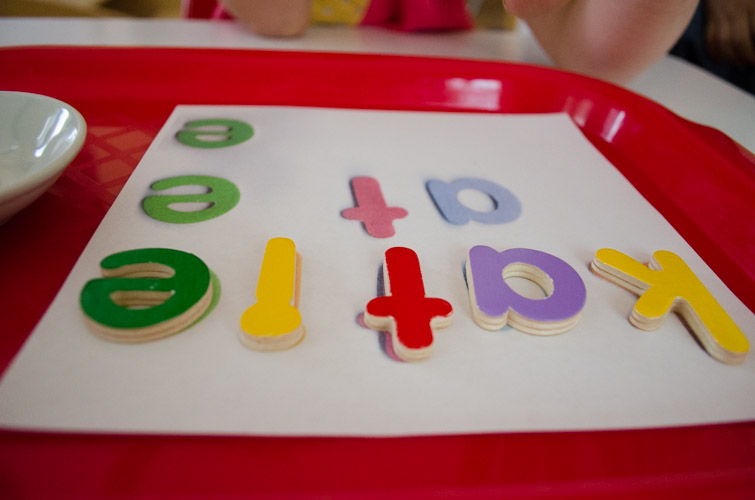
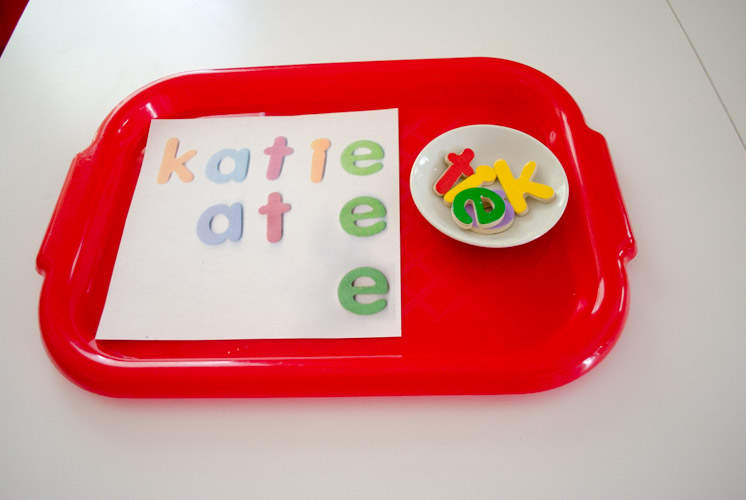
In the first step, the child sees all the letters in her name and matches the wooden letters to the matching ones on the paper. This is a great beginning step, and there is no need to rush this process. As the child is moving the letters around, they are learning to identify the letter and to match it to the correct direction so that it’s not upside down or backwards. They are also processing which letter comes first, as well as which letters follow it.
As the child is moving the letters around, they are learning to identify the letter and put it in the correct direction so that it’s not upside down or backwards. They are also learning which letter comes first and which letters follow it.
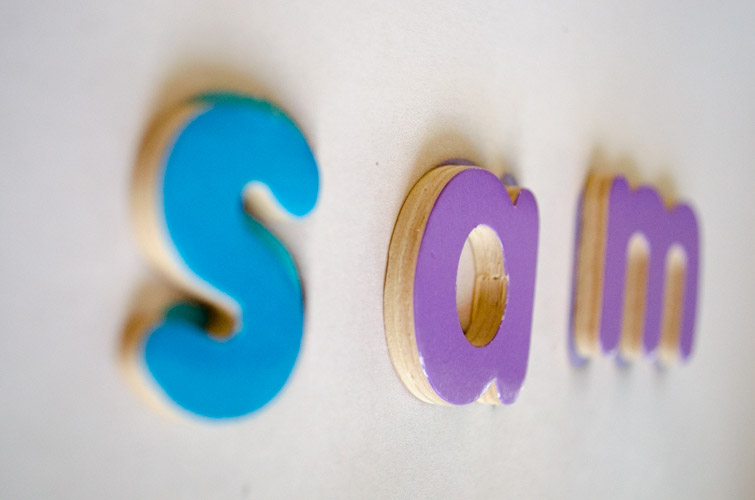
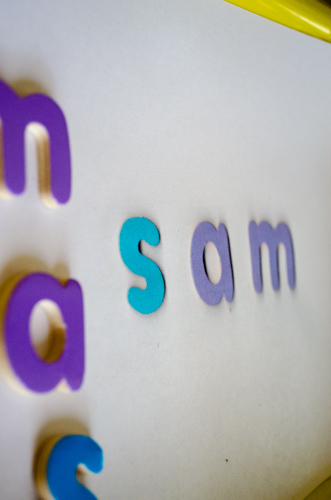
Here is Sam’s name. I put the letters to the left of his name, and he matched them every time. We would mix them up and try again. He had this mastered pretty quickly even though it was our first time doing a name recognition activity.
Related Post: Easy Ways to Help Children Learn Their Names
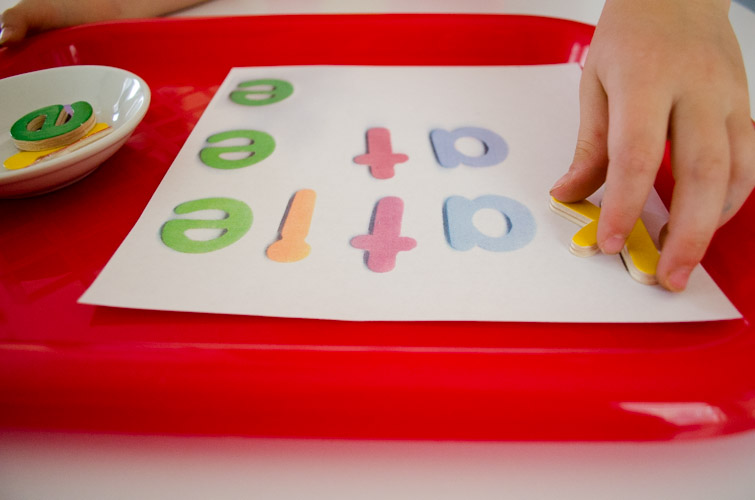
The second step is to shorten the name by removing the first letter and some others (depending on the length). Then the child will fill in the “missing letters.”
Some children will easily move through this step, but others will need to look at the first step (which I left above) to help reinforce the order of the letters.
Here’s how I did it with my name. Once my daughter had easily matched all the letters to fit on the paper, I took out the first letter “k.” Then I chose a random letter, which in this case was “i.”
Related Post: DIY Name Stamps
Lastly, I only left the last letter of the name. When a name has 7 or more letters, I would make this a four step process. This will help solidify the order of the letters and the child can easily look up at the above steps when they need help. Since I started doing this process, the children have been learning their names in a cinch. It’s such an awesome method that is stress-free and fun.
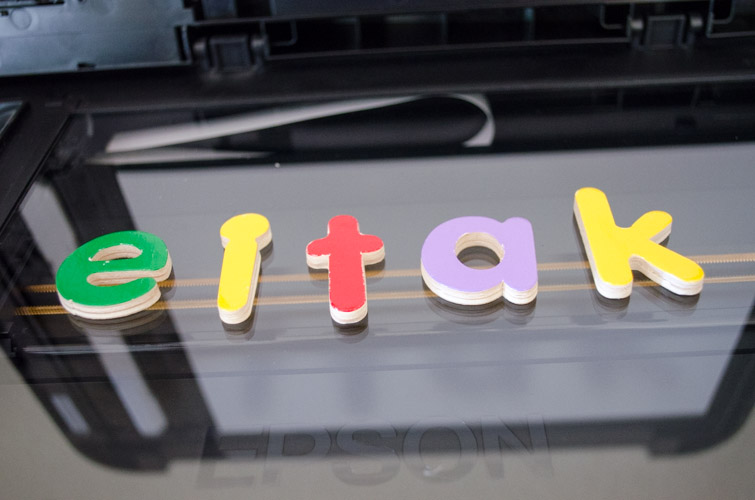
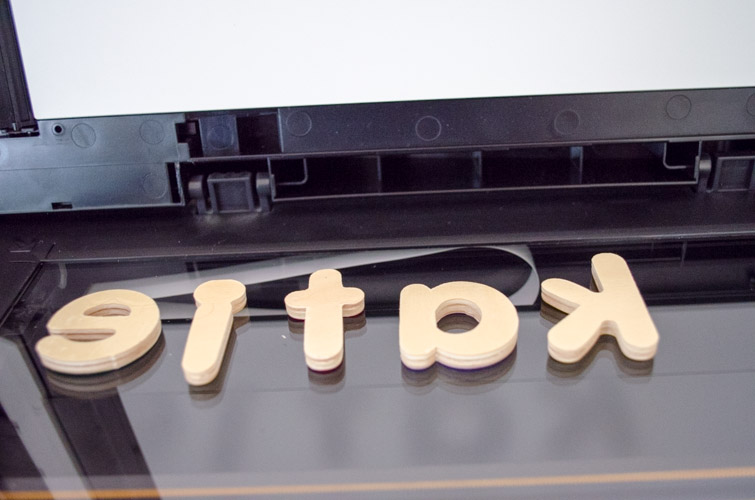
To make our own puzzle, all I used was wooden letter shapes and my copy machine. You could easily use bulletin board letters, magnetic letters, Montessori wooden movable letters, or felt letters if you don’t have ones like mine. Anything that fits in the copy machine could be used really. I had some wooden letter manipulatives from a spelling activity that we bought, and these are my favorite because they don’t bend when picked up and help reinforce the shape of the letter. Place the letters on the copier so that they spell the name backwards.
Then turn them over and push them upward so that they will be at the top of the paper. Now make a copy.
After this, I took out the “k” and “i” then I lowered them, placing the copied piece of paper on top of the letters to make a new copy with the first two steps. Lastly, I took the piece of paper in which I had copied the first two steps, and left only the “e” and lowered it in the copier. Then I had my three step DIY name recognition puzzle.
I like to add a Montessori twist too, so I put this on a tray with a bowl of the correct letters next to it. It’s not necessary, but I appreciate the order that it adds to the activity, especially with names that are five letters long or more.
Another fun name puzzle is over at Teach Preschool.
To see more of my favorite name recognition activities, you can follow my Pinterest board about name recognition. And of course, you can see lots of awesome learning activities by clicking “follow all.”
- Rainbow Sensory Bottle - March 3, 2024
- Teaching Neurodivergent Children in Early Childhood Education - January 8, 2024
- Creating Musical Memories: Teaching Music in Preschool - October 6, 2023

This is so smart! I am totally going to steal this idea!
You’re so sweet, Sarah! I would love for you to “steal” this. It’s so much fun! 🙂
Does the wooden set come with duplicates for names like Jesse?
Yes, it does have duplicates of the frequently used letters. Mine is the Melissa and Doug kit. It’s a pleasure to have you visit, Jackie!
What a fun idea! My littles are super into their names right now- I’m totally doing this tomorrow!!
I hope you all love it! It’s such a perfect activity for the preschool age :). Keep me in the loop and let me know how it goes!
Can i use magnetic letter instead of wooden coz i dont have the wooden ones.will the magnetic cause harm to the copier?thanks for this activity