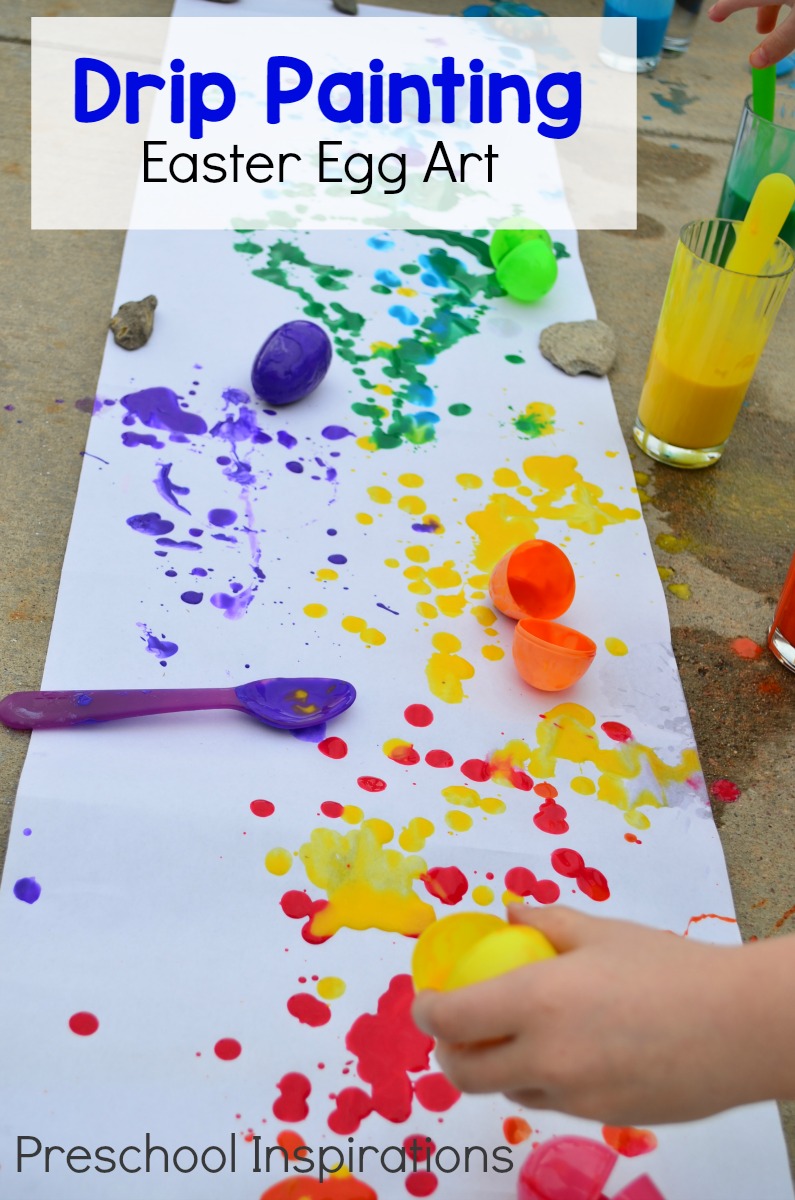
This Easter Egg art project is perfect for a simple art activity that children love!
I can remember the first story I heard about process art. I was appalled! Why would anyone just let their child get paint all over themselves? Now I have to laugh at myself because this one of my own children’s favorite activities. We love process art, and our most recent drip painting Easter egg art activity is one of the best ever. I even let my children get paint all over their clothes.
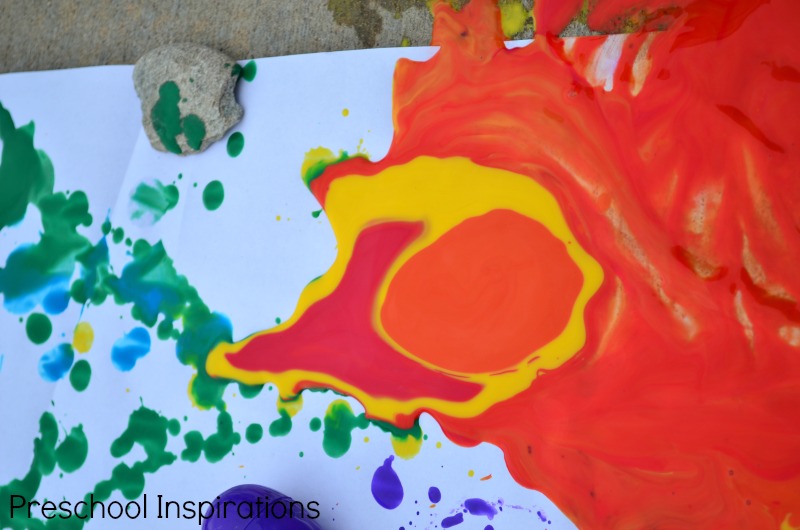
Here is a close-up of the awesomeness!

If you need a simple activity with little prep, this Easter Egg Process Art Activity is guaranteed to please!
Easter Egg Process Art
Materials
- Watered down tempera paint
- Plastic Easter Eggs with holes
- Paper to use for a large painting surface
Not all Easter eggs have holes so make sure to double check when doing this activity. Otherwise, you can just drill a hole or two in your plastic eggs.
The tempera paint will need to be watered down to make this activity work. You will want a runny consistency. Plus, you are stretching your paint by adding the water.
This is one of my favorite teacher art tips for process art projects since we are focusing on the experience and not the end result.
I used easel paper for our painting surface. Any sort of paper would work. Another great art project with easel paper is my rainbow art project!
Instructions
Mix your tempera paint with water. I used one part paint to one part water. Every brand is different, so just keep that in mind if you need to keep adding water or if you don’t need as much.
If you find that your paint is still too thick, you can always just add more water.
Invite the child pour or scoop the paint into an opened egg.
Be sure to check the eggs before adding the paint to see which half has better openings for the paint to easily drip through.
Now let the paint drip through the bottom of the plastic egg onto the paper. Plop. Plop. Aaaaaand…plop.
If for some reason the holes get clogged, add more water into the egg directly or try using the other side.
If you are super familiar with process art, you know that the activity will transform. What started out as drip art soon become rock painting.
What are Children Learning?
Color recognition is one of the skills from this activity.
We worked on matching the egg color to the paint color.
Fine motor skills is another important skill.
Some children decided to start pouring instead of dripping.
This can even transform into sensory exploration.
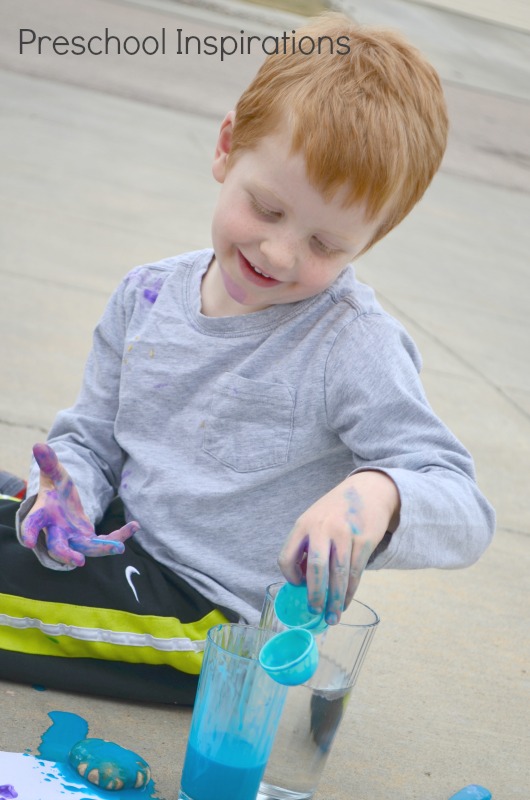
As you can see from the hands, face, and shirt below, this got all hands-on! Paint is so fun to squish and play with.

Notice the paint all over his hands and some on his face? I would have been cringing about this 10 years ago. I think it’s beautiful now!
Instead of seeing a mess, I look at that smile. And it says, “Mom, this is building my creativity. It is good for my heart, and I am interacting with textures that my body craves.” It sure beats finding him in a bag of flour with it strewn across the kitchen. He’s never done that for the record ;).
Our open-ended plastic Easter egg art activity even made way for a paint tsunami!

Then that opened the floodgates for a painting extravaganza. Paint all over the driveway! No longer was the paper their canvas, but it soon became the cement –again, another wonderful and inviting texture!
We absolutely enjoyed this drip art Easter egg process art experience, and now I can’t wait for the next one!
- Rainbow Sensory Bottle - March 3, 2024
- Teaching Neurodivergent Children in Early Childhood Education - January 8, 2024
- Creating Musical Memories: Teaching Music in Preschool - October 6, 2023
Leave a Reply