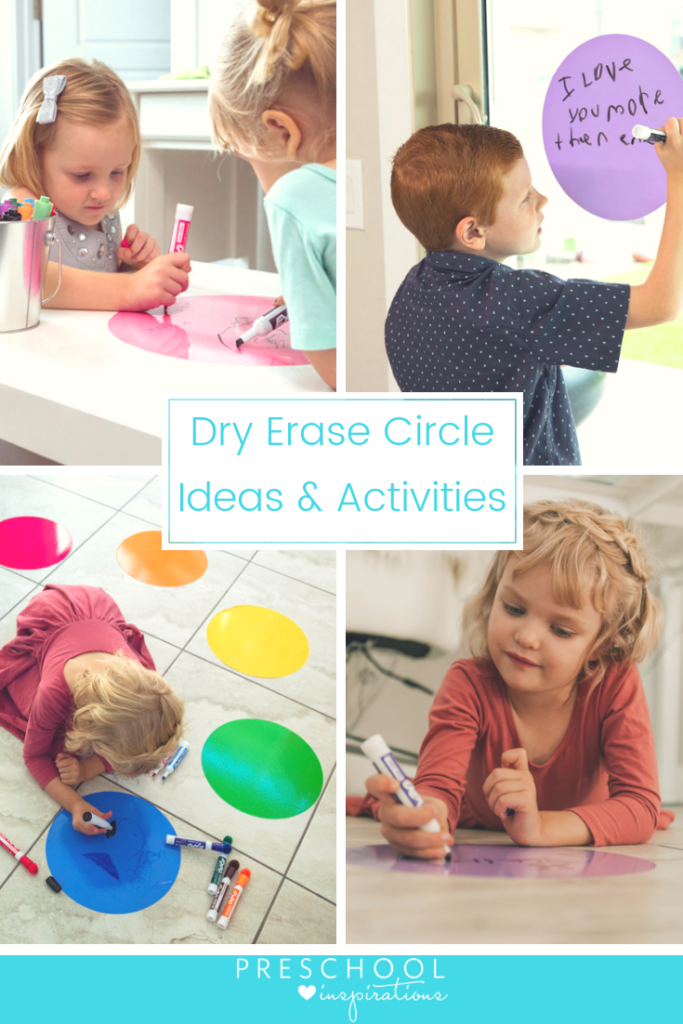
Dry erase circles are a simple and easy tool to use with children, and here are 10 ways you can use dry erase circles around the home and classroom.
I walked downstairs and a smile gleamed across my face. My daughter wrote me a love note, “I love you to the moon and back mom and dad.”
I’ve been getting these more and more lately.
I was so excited to use these dry erase circles because I thought they would be fun writing practice, and it turns out that my kids have found their own uses for it too. A doodle station, a place to write thoughtful notes, and a space that all of them love.

Get the best learning activities for 3-5 year olds at your fingertips
My youngest is three-years-old, and my oldest is nine-years-old. And we have a seven-year-old sandwiched in between.
It turns out that all of them have found a favorite way to use our dry erase circles… and so have I!
I have partnered with Teacher Buddy Supplies for this post. All opinions are my own.
10 Ways to use Dry Erase Circles
Dry erase circles, aka dry erase dots, are so versatile it turns out. Here are some great ways to use them around the house or in the classroom.
Dry Erase Dots as a Vertical Writing Surface
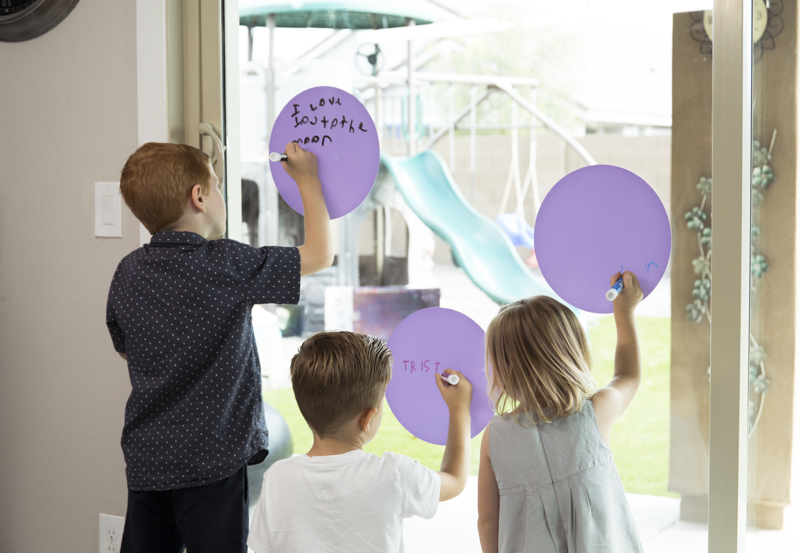
When it comes to new writers, one of the best ways to help them write is to start on a vertical surface. Have you noticed how children like to write on the wall? That’s why!
It always makes me giggle when I see a name written on a wall or shelf. Kids need that vertical writing practice, and they give themselves away at the same time while writing their favorite word.
Making a writing surface on a wall is not so simple, but these dry erase circles from Teacher Buddy Supplies are absolutely perfect for that. Just ask my preschooler! We have a giant sliding glass door that I decided to try them out on. It was like magic!
It’s pretty much part of her daily routine to go over to the window and write on it now, and I couldn’t be happier.
My kids are just drawn to it and feel like they’re getting away with writing on the wall. And I’m glad not to have to pull out the Magic Eraser.
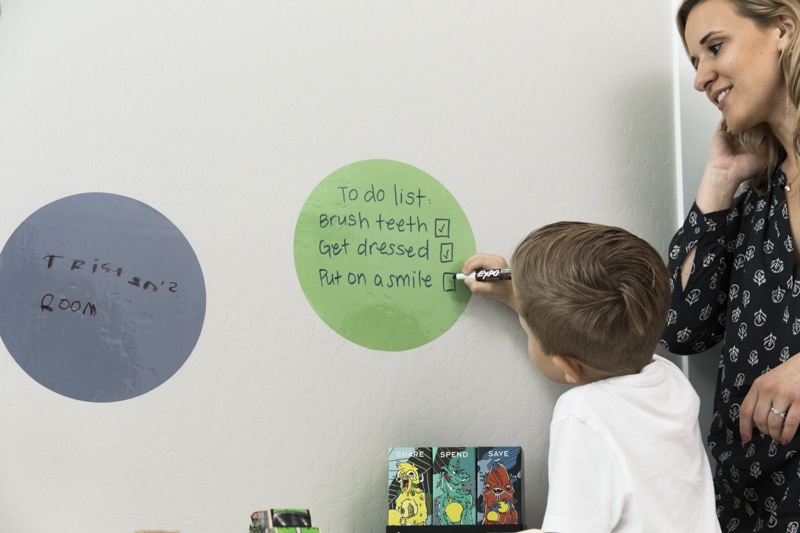
Dry Erase Circles as a To-Do Checklist
For years, I did things the hard way. A typical morning went like this, “Did you brush your teeth? Is your lunch ready? Are you wearing clean underwear? Do you have your water bottle?” Day after day. Week after week.
Sometimes it takes a while to teach a new concept, and I was the one who needed to do the learning. When it came to simple to-do lists, it is so much easier to have them written down where my kids can see and cross off each item off.
Just place a dry erase dot in your child’s bathroom or bedroom to help them remember the morning routine (or bedtime routine). It will make your life so much easier, I promise. Then, you can just ask, “Did you get everything checked off your to-do list?”
Dry Erase Dots as a Note to Parents
I think there are so many ways to use dry erase circles in the home but also in the classroom. When parents are picking up their kids from school, it’s nice to have a spot to remind them of anything important coming up. A dry erase circle is the perfect place to say, “Book Fair next week,” “School closed on Monday,” or “Field trip money due today.”
As a mom of three, I highly appreciate those reminders — even if I just read it last night in an e-mail. I used to wonder how parents could forget so easily before I had any children of my own, but now I am that parent who needs as many reminders as possible.
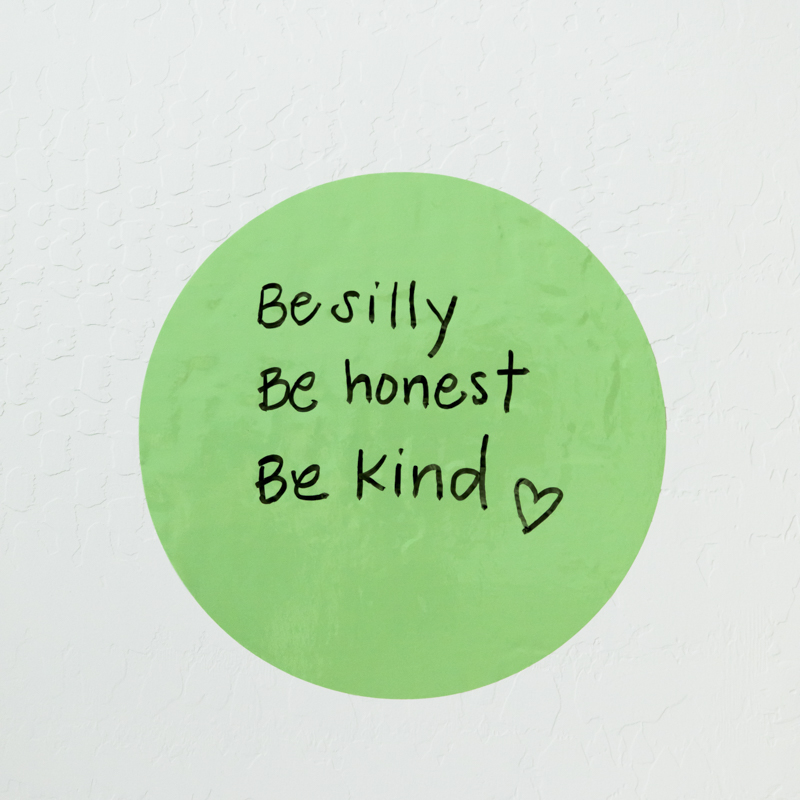
Dry Erase Circles as Quote or Joke of the Day
Why was 6 afraid of 7? Because 7, 8, 9. My kids crack up over this joke. Actually, once my kids hit kindergarten, they became joke obsessed.
Jokes are a great way to use a dry erase dot from Teacher Buddy Supplies. You might even find a joke written in return. While jokes are what my kids love, I adore quotes. Here are some of my favorite quotes that fit well on a dry erase circle:
Do something awesome today!
Be silly, be honest, be kind.
Today is your day!
You are so loved.
You are a rainbow of possibilities.
I’ll eat you up, I love you so.
I love you to the moon and back.
Just take any favorite quote or line from a story, and you have created a simple way to say “I love you.”
Dry Erase Dots as a Homework Station
I always seem to ask myself, “Where is a scrap piece of paper when I need one?” This is especially true when I am working with my oldest kids on a math problem or spelling word.
Turn any desk or table into a space to work together with your kids. Using something as simple as a dry erase circle makes it more inviting and fun. I love to ask my son to grab his favorite color dry erase marker, and he gets excited to work together. He loves math, so that’s easy, but when it comes to handwriting, he can use that extra incentive.
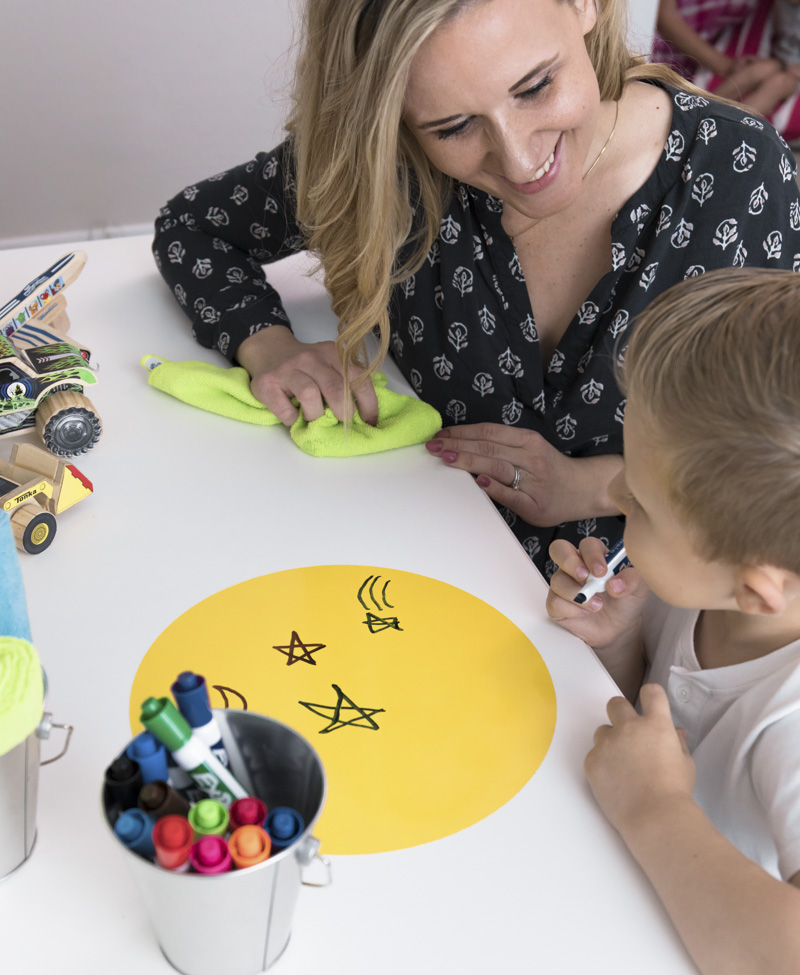
Dry Erase Circles as an Art Area
If you know a doodler or art lover, you will see that they are in art heaven with the dry erase circles. There are so many ways to use them, especially with the different colors. Here are some prompts that we’ve thought of if you need help getting the creative juices flowing:
- Easter egg with any of the colored circles
- Planets with any of the circles
- Jack-o-lantern with the orange dry erase dot in the rainbow pack
- Monsters with any color circle
- Christmas tree bulbs with any color dry erase circle
- Emojis with the yellow circles in the rainbow pack
If you have an art-lover, they’ll come up with 1,036,5789 ideas of their own. You can see all of the colors here at the Teacher Buddy Supplies website.
Dry Erase Dots for Handwriting and Writing Practice
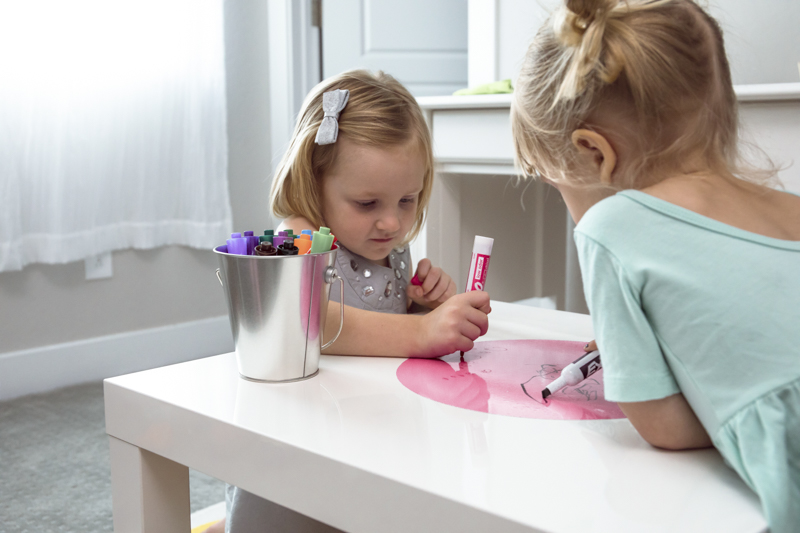
Dry-erase circles make the ultimate writing center! We turned our IKEA lack table into a writing center, and it has been such a hit. I placed a circle on the table with dry erase markers and cloths handy. I have so many ideas planned out for this little writing area (which I’ll be sharing regularly).
We decided not only to put a dry erase circle on the table, but I put one on the window right next to the writing center too since I am encouraging writing on vertical spots and horizontal areas.
Dry Erase Circles for a Shopping list
I have this green dry erase circle on my fridge for my shopping list. It’s also a great place to write the leftovers that we have. We just keep a magnetic dry erase marker handy and write anytime that we see we are running low on something. Then I take a photo with my phone and have the list with me while I’m at the store. This works perfectly so I don’t accidentally leave my list in the car since I always carry my phone with me.
Dry Erase Dots on the Floor
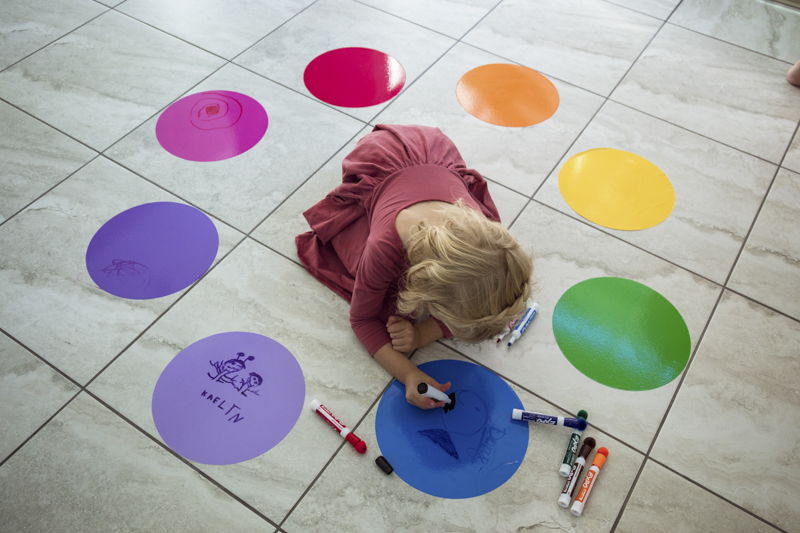
We put the rainbow dry erase circles on our floor, and my kids are in love! It is completely ideal for a play area or the classroom. They love writing on them and jumping from circle to circle. I wasn’t sure how they would withstand being jumped on and walked on, but I’m already surprised how they are holding up to the wear and tear of my own kids.
There are some things I learned along the way too. When we first put the dry erase circles on my tile floor, they moved around whenever any weight was put on them. I was afraid this great idea might just be a bust. But then the next day, after they had time to seal to the floor, they worked just as I was wishing and hoping for!
The secret to putting them on the floor successfully is to put them on a clean surface with the method I am going to describe below and then let them sit overnight before you use them! Trust me, it will be worth the wait!
How to Apply Dry Erase Circle Dots
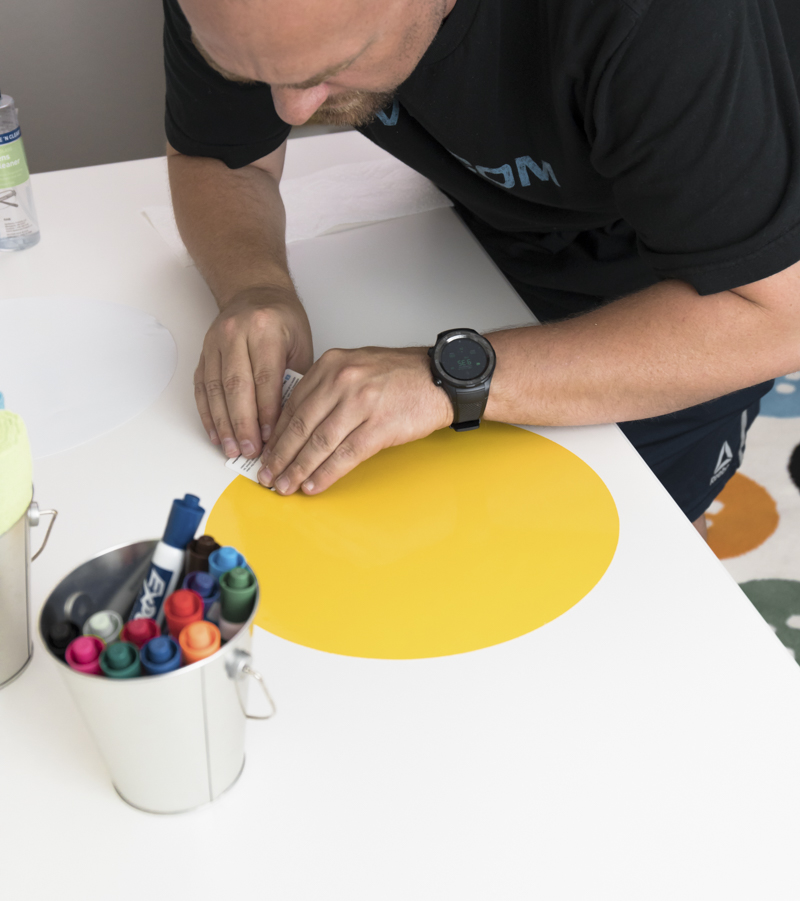
The dry erase circles are pretty easy to apply, especially to a textured wall. When it comes to flat surfaces, I learned a little trick from my husband that I’m going to share too.
There is a wonderful video about how to apply the dry erase dots. You can see it over at Teacher Buddy Supplies.
The way that we did it, which makes it super easy to reposition and make sure that all the bubbles were out, was to spray some window cleaner or lens cleaner onto the flat surface first. Just one spray made it so that we could move it around to exactly where we wanted it, then we wiped the excess cleaner away.
Next, you’ll take a card of some sort (credit card, gift card, etc) and smooth the dry erase dot out, wiping the excess liquid some more. Take the card and put it in the middle and push it outward to the edge of the circle.
We did this around all the edges until it was completely flat, just as we wanted.
Now you just write and wipe and do it over and over again.
Voila!
What ideas do you have for using dry erase circles? We’d love to hear about it!

- The Best Movement and Action Songs for Children - January 8, 2026
- Back to School Survival Guide for Preschool Parents - July 29, 2025
- Thanksgiving Ten Frame Counting Mats - November 17, 2024
Oh wow, I love these ideas! My baby girl is too young to use it yet, but I’m going to try to put it on a wall in our mudroom for leaving notes etc.!