↑

Preschool Inspirations

Preschool Activities and Learning

  • Home
  • About Me
    • Disclosure Policy, Copyright Items, and Privacy Policy
  • Contact
  • My Book
  • Shop
  • Music
  • Science
  • Literacy
  • Math
  • Fine Motor

Easy Bubble Sensory Table

We are a participant in the Amazon Services LLC Associates Program. As an Amazon Associate I earn from qualifying purchases. Affiliate links from Amazon or other programs are used on this website. See my disclosure policy here.

July 3, 2016 by Katie T. Christiansen 2 Comments

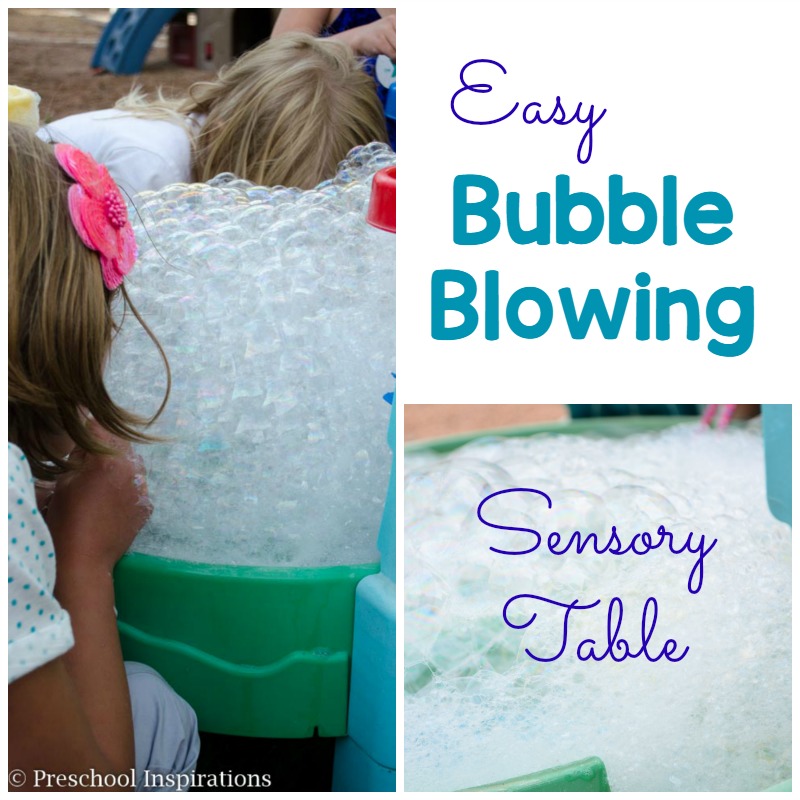
A bubble blowing sensory table was my perfect answer for my bubble dilemmas! Children love to blow and blow and blow bubbles, and you can let them do it to their heart’s content with a sensory table! Several children can blow bubbles at once and make a huge bubble mountain! Plus, it’s so much fun!

This is a perfect outdoor sensory experience. Let children make bubbles with a bubble blowing sensory table.

This post contains affiliate links for your convenience.

The best part? It’s only 2 ingredients! Water and dish soap! No bubble solution needed, although you could definitely use bubble solution.

Let children make bubbles to their heart's content in this bubble blowing sensory table-8


The Best Bubbles EVER

Make a Bubble Sensory Table

Make a run to your kitchen for all of these ingredients:

  • Water
  • Dish soap or any other liquid soap
  • Straws (plastic work best)
  • Cups or bowls
  • Liquid Watercolor (optional)

Let children make bubbles to their heart's content in this bubble blowing sensory table-6

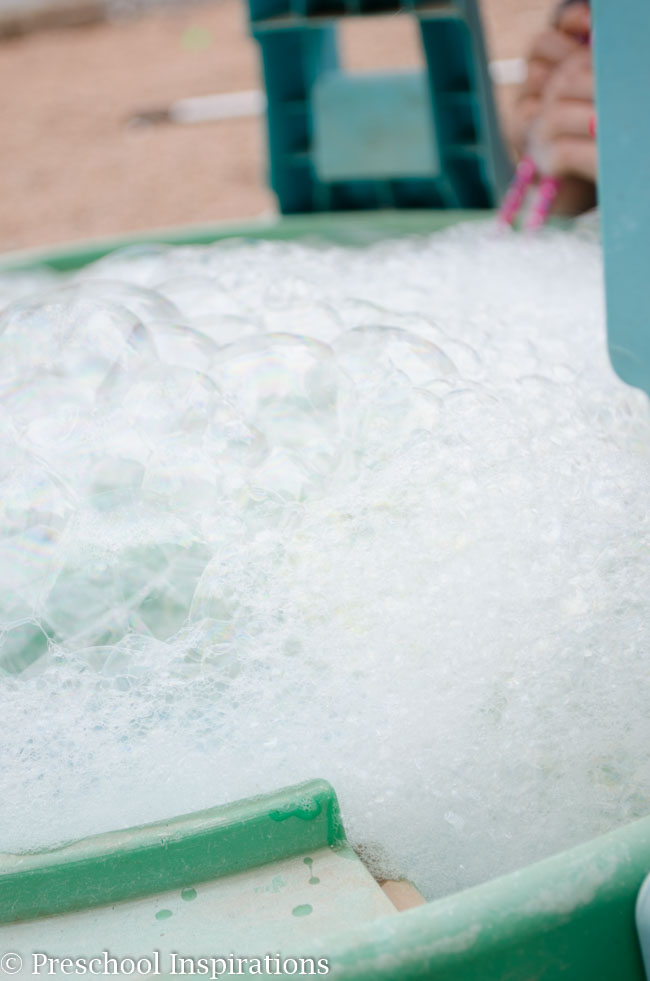
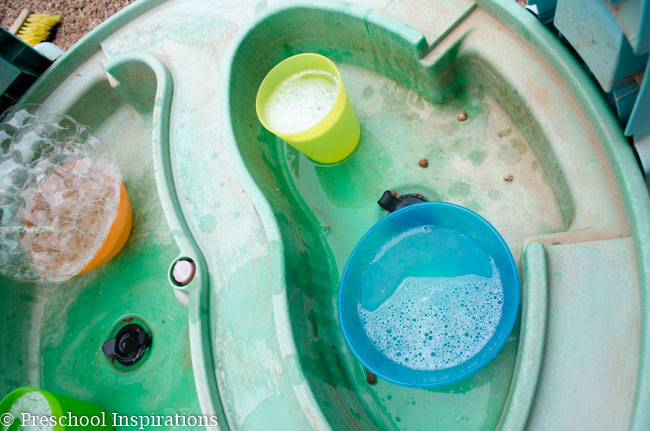
We made our bubble blowing sensory table in our (very loved) outdoor sensory table. You can use any sort of sensory table or sand and water table

You are going to put about a cup (8 ounces) of water into each cup or bowl with a squeeze of soap in that. I use between a teaspoon to a tablespoon. Then we keep the soap handy for lots of refills.

The entire reason for using cups and bowls is to keep the process more sanitary. Each child uses his or her own container (in theory) for the process!

Let children make bubbles to their heart's content in this bubble blowing sensory table-2

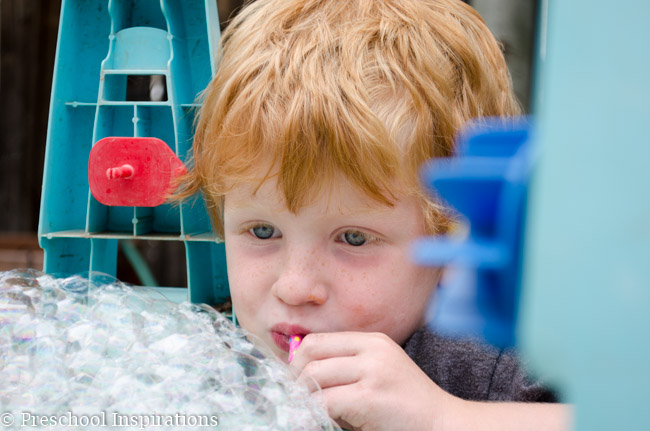
Just add a straw and let the children blow!!

This is a perfect outdoor sensory experience. Let children make bubbles with a bubble blowing sensory table.

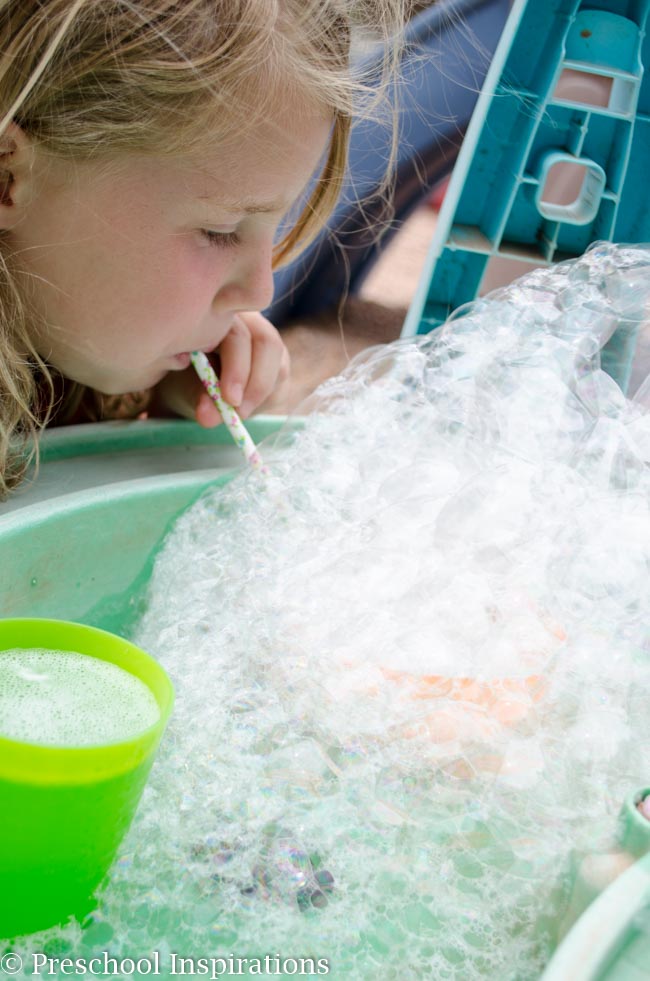
You might be asking: “What about the children who will try to suck up the bubble solution instead of blowing out?” And I would say, “how smart of you to think of that!”

The perfect solution to this is to cut a small triangle on the side of the straw about an inch or two from the bottom of the straw. Voila! Problem fixed!

This bubble blowing sensory table is just so much fun and so easy to set it up! Try it when every child wants bubbles at the same time or when you need a perfect sensory table to entertain the children with.

Make an easy bubble blowing sensory table for hours of bubble blowing fun outdoors!

Related Posts:

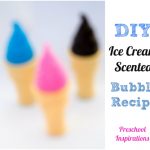
DIY Ice Cream Scented Bubble Recipe

Make your own ice cream scented bubbles recipe ~ Preschool Inspirations

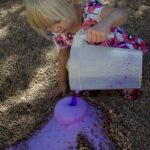
Super Easy Volcano Eruptions

Easy Volcano Eruption for Kids ~ Preschool Inspirations-10

  • Author
  • Recent Posts
Katie T. Christiansen
Creator at Preschool Inspirations
Katie has spent 17 combined years in the Early Childhood field as a teacher, preschool owner, and educational writer. She has worked in profit and non-profit programs, high-risk schools, and started an in-home preschool and outdoor collaborative preschool program. She adores being a mom to three children, and her youngest is currently in preschool.
Latest posts by Katie T. Christiansen (see all)
  • DIY Animal Puzzle - October 31, 2022
  • How to use Question of the Day for Circle Time - August 5, 2022
  • Why Potty Training is Failing - June 18, 2022
139 shares
  • Share
  • Tweet

Filed Under: Sensory

Comments

  1. Megan says

    February 20, 2020 at 2:07 pm

    Hi! I stumbled onto this post for a bubble sensory table, but when I went to the link to make no suck straws, the website no longer works. Do you recall how to make no suck straws?

    Thank you!

    Reply
    • Katie T. Christiansen says

      February 23, 2020 at 10:28 pm

      Hi Megan,

      Thanks for pointing that out. Here’s how to do it: cut a small triangle on the side of the straw about an inch or two from the bottom of the straw. Voila! Problem fixed!

      Warmly,

      Katie

      Reply

Leave a Reply Cancel reply

Your email address will not be published. Required fields are marked *

This site uses Akismet to reduce spam. Learn how your comment data is processed.

I'm Katie, and I'm a veteran preschool teacher, child development research junkie, and mom of three who lives on little sleep and turns my kitchen into an art and science laboratory.

Come on in! I'm sharing my best play recipes, teacher tips, & learning activities with a sprinkling of real life!

My New Book!

Book cover for the Best Preschool Learning Activities

Peaceful Potty Training

cover image for potty training visual schedule

Graduation Certificates

cover image for graduation certificates

search

categories

archives

Copyright ©2023, Preschool Inspirations. All Rights Reserved.
Design by Pixel Me Designs
139 shares